Can you guess what the stock market will do tomorrow? Or how many customers will visit your store next week? Time series regression in Python helps answer these questions. This powerful regression analyzes past data to predict future trends. Let’s explore how it works and how you can use it.
What is Time Series Regression?
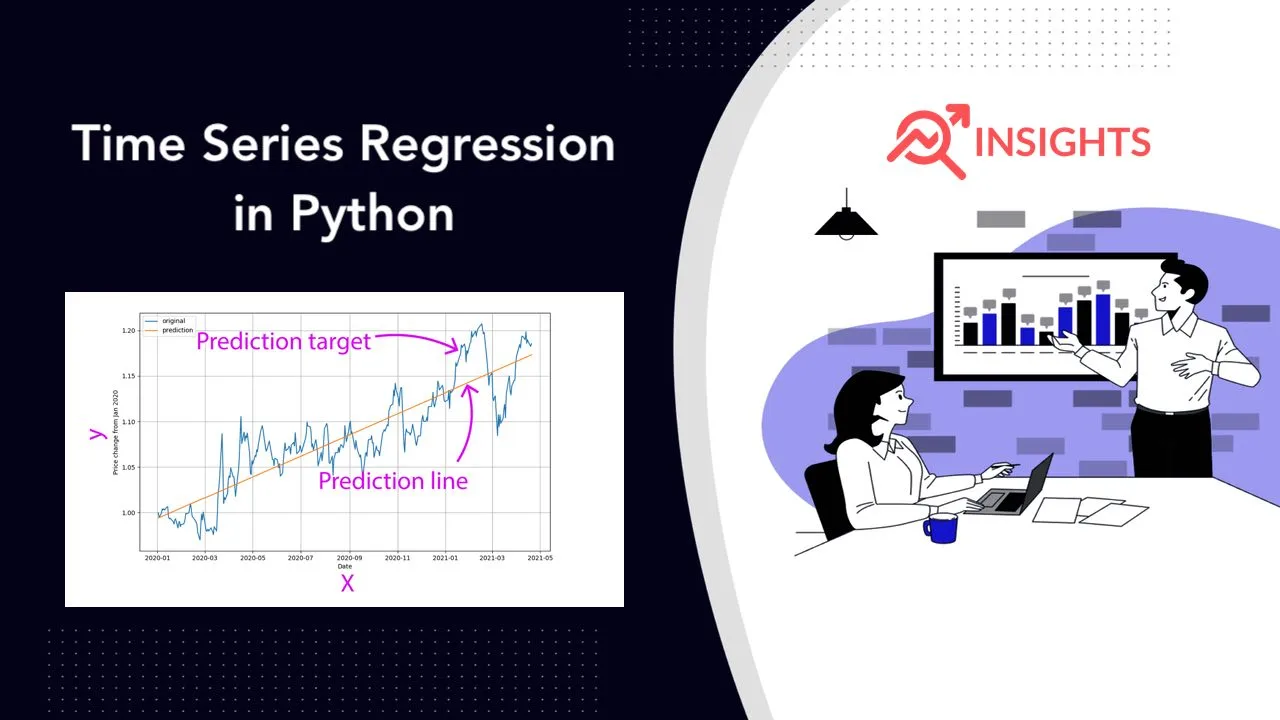
Time series regression is a statistical method. It models the relationship between a dependent variable and time. This technique helps predict future values based on past observations.
Time series data has a time component. Examples include:
- Daily stock prices
- Monthly sales figures
- Hourly temperature readings
Python offers many libraries for time series analysis. These include pandas, statsmodels, and scikit-learn.
Why Use Time Series Regression?
Time series regression has many applications. These include:
- Economic forecasting
- Sales prediction
- Weather forecasting
- Resource planning
It helps businesses and researchers make informed decisions. By understanding past trends, we can better prepare for the future.
Components of Time Series Data
Time series data often has four main components:
- Trend: The long-term direction of the data
- Seasonality: Regular patterns that repeat over fixed intervals
- Cyclical: Patterns that occur but not at fixed intervals
- Irregular: Random fluctuations in the data
Understanding these components is key to effective time series analysis.
Setting Up Your Python Environment
Before we start, let’s set up our Python environment. We’ll need these libraries:
- pandas: For data manipulation
- numpy: For numerical operations
- matplotlib: For plotting
- statsmodels: For time series models
Install these libraries using pip:
pip install pandas numpy matplotlib statsmodels
Loading and Preparing Time Series Data
First, we’ll load our data. Let’s use a CSV file with daily temperature readings:
import pandas as pd

# Load the data
df = pd.read_csv('temperature_data.csv')

# Convert date column to datetime
df['date'] = pd.to_datetime(df['date'])

# Set date as index
df.set_index('date', inplace=True)
Now our data is ready for analysis.
Visualizing Time Series Data
Visualization helps us understand our data better. Let’s plot our temperature data:
import matplotlib.pyplot as plt

plt.figure(figsize=(12,6))
plt.plot(df.index, df['temperature'])
plt.title('Daily Temperature')
plt.xlabel('Date')
plt.ylabel('Temperature (°C)')
plt.show()
This plot shows trends and patterns in our data.
Checking for Stationarity
Stationarity is important in time series analysis. A stationary series has constant statistical properties over time. We can check for stationarity using the Augmented Dickey-Fuller test:
from statsmodels.tsa.stattools import adfuller

result = adfuller(df['temperature'])
print('ADF Statistic:', result[0])
print('p-value:', result[1])
If the p-value is less than 0.05, we can reject the null hypothesis. This means the series is stationary.
Making the Series Stationary
If our series isn’t stationary, we can transform it. Common methods include:
- Differencing
- Taking the log
- Removing trend and seasonality
Here’s an example of differencing:
df['temp_diff'] = df['temperature'].diff()
df.dropna(inplace=True)
Autocorrelation and Partial Autocorrelation
Autocorrelation shows the correlation between a series and its lags. Partial autocorrelation shows the direct correlation between lags. These help us choose model parameters.
from statsmodels.graphics.tsaplots import plot_acf, plot_pacf

plot_acf(df['temp_diff'])
plot_pacf(df['temp_diff'])
plt.show()
Building an ARIMA Model
ARIMA (AutoRegressive Integrated Moving Average) is a popular time series model. Let’s build an ARIMA model:
from statsmodels.tsa.arima.model import ARIMA

model = ARIMA(df['temperature'], order=(1,1,1))
results = model.fit()
print(results.summary())
The order (1,1,1) represents the (p,d,q) parameters of ARIMA.
Making Predictions
Now we can use our model to make predictions:
forecast = results.forecast(steps=30)
print(forecast)
This gives us predictions for the next 30 days.
Evaluating Model Performance
We can evaluate our model using metrics like Mean Absolute Error (MAE) or Root Mean Squared Error (RMSE):
from sklearn.metrics import mean_absolute_error, mean_squared_error
import numpy as np

mae = mean_absolute_error(df['temperature'][-30:], forecast)
rmse = np.sqrt(mean_squared_error(df['temperature'][-30:], forecast))

print('MAE:', mae)
print('RMSE:', rmse)
Seasonal ARIMA (SARIMA)
If our data has seasonality, we can use SARIMA. It adds seasonal terms to the ARIMA model:
from statsmodels.tsa.statespace.sarimax import SARIMAX

model = SARIMAX(df['temperature'], order=(1,1,1), seasonal_order=(1,1,1,12))
results = model.fit()
print(results.summary())
The seasonal_order (1,1,1,12) represents (P,D,Q,m), where m is the number of periods per season.
Prophet Model
Facebook’s Prophet is another powerful tool for time series forecasting. It handles seasonality well:
from fbprophet import Prophet

df_prophet = df.reset_index().rename(columns={'date': 'ds', 'temperature': 'y'})

model = Prophet()
model.fit(df_prophet)

future = model.make_future_dataframe(periods=30)
forecast = model.predict(future)

model.plot(forecast)
plt.show()
Long Short-Term Memory (LSTM) Networks
LSTM networks, a type of recurrent neural network, can capture long-term dependencies in time series data:
from keras.models import Sequential
from keras.layers import LSTM, Dense
from sklearn.preprocessing import MinMaxScaler

scaler = MinMaxScaler()
scaled_data = scaler.fit_transform(df['temperature'].values.reshape(-1,1))

X = []
y = []
for i in range(60, len(scaled_data)):
    X.append(scaled_data[i-60:i, 0])
    y.append(scaled_data[i, 0])
X, y = np.array(X), np.array(y)

model = Sequential()
model.add(LSTM(units=50, return_sequences=True, input_shape=(X.shape[1], 1)))
model.add(LSTM(units=50))
model.add(Dense(1))

model.compile(optimizer='adam', loss='mean_squared_error')
model.fit(X, y, epochs=100, batch_size=32)
Handling Missing Data
Missing data is common in time series. We can handle it using methods like:
- Forward fill
- Backward fill
- Interpolation
Here’s an example of forward fill:
df.fillna(method='ffill', inplace=True)
Dealing with Outliers
Outliers can skew our analysis. We can detect and handle them:
Q1 = df['temperature'].quantile(0.25)
Q3 = df['temperature'].quantile(0.75)
IQR = Q3 - Q1

lower_bound = Q1 - 1.5 * IQR
upper_bound = Q3 + 1.5 * IQR

df['temperature'] = df['temperature'].clip(lower_bound, upper_bound)
Feature Engineering for Time Series
We can create new features from our time data:
df['day_of_week'] = df.index.dayofweek
df['month'] = df.index.month
df['is_weekend'] = df['day_of_week'].isin([5,6]).astype(int)
These new features can improve our model’s performance.
Time Series Cross-Validation
Traditional cross-validation doesn’t work well for time series. Instead, we use time series split:
from sklearn.model_selection import TimeSeriesSplit

tscv = TimeSeriesSplit(n_splits=5)

for train_index, test_index in tscv.split(df):
    print("TRAIN:", train_index, "TEST:", test_index)
Conclusion
Time series regression in Python is a powerful tool for predicting future trends. We’ve covered the basics of loading data, checking stationarity, building models, and making predictions. With practice, you’ll be able to apply these techniques to your own data and gain valuable insights.
Remember, no model is perfect. Always validate your results and consider the context of your data. Happy forecasting!